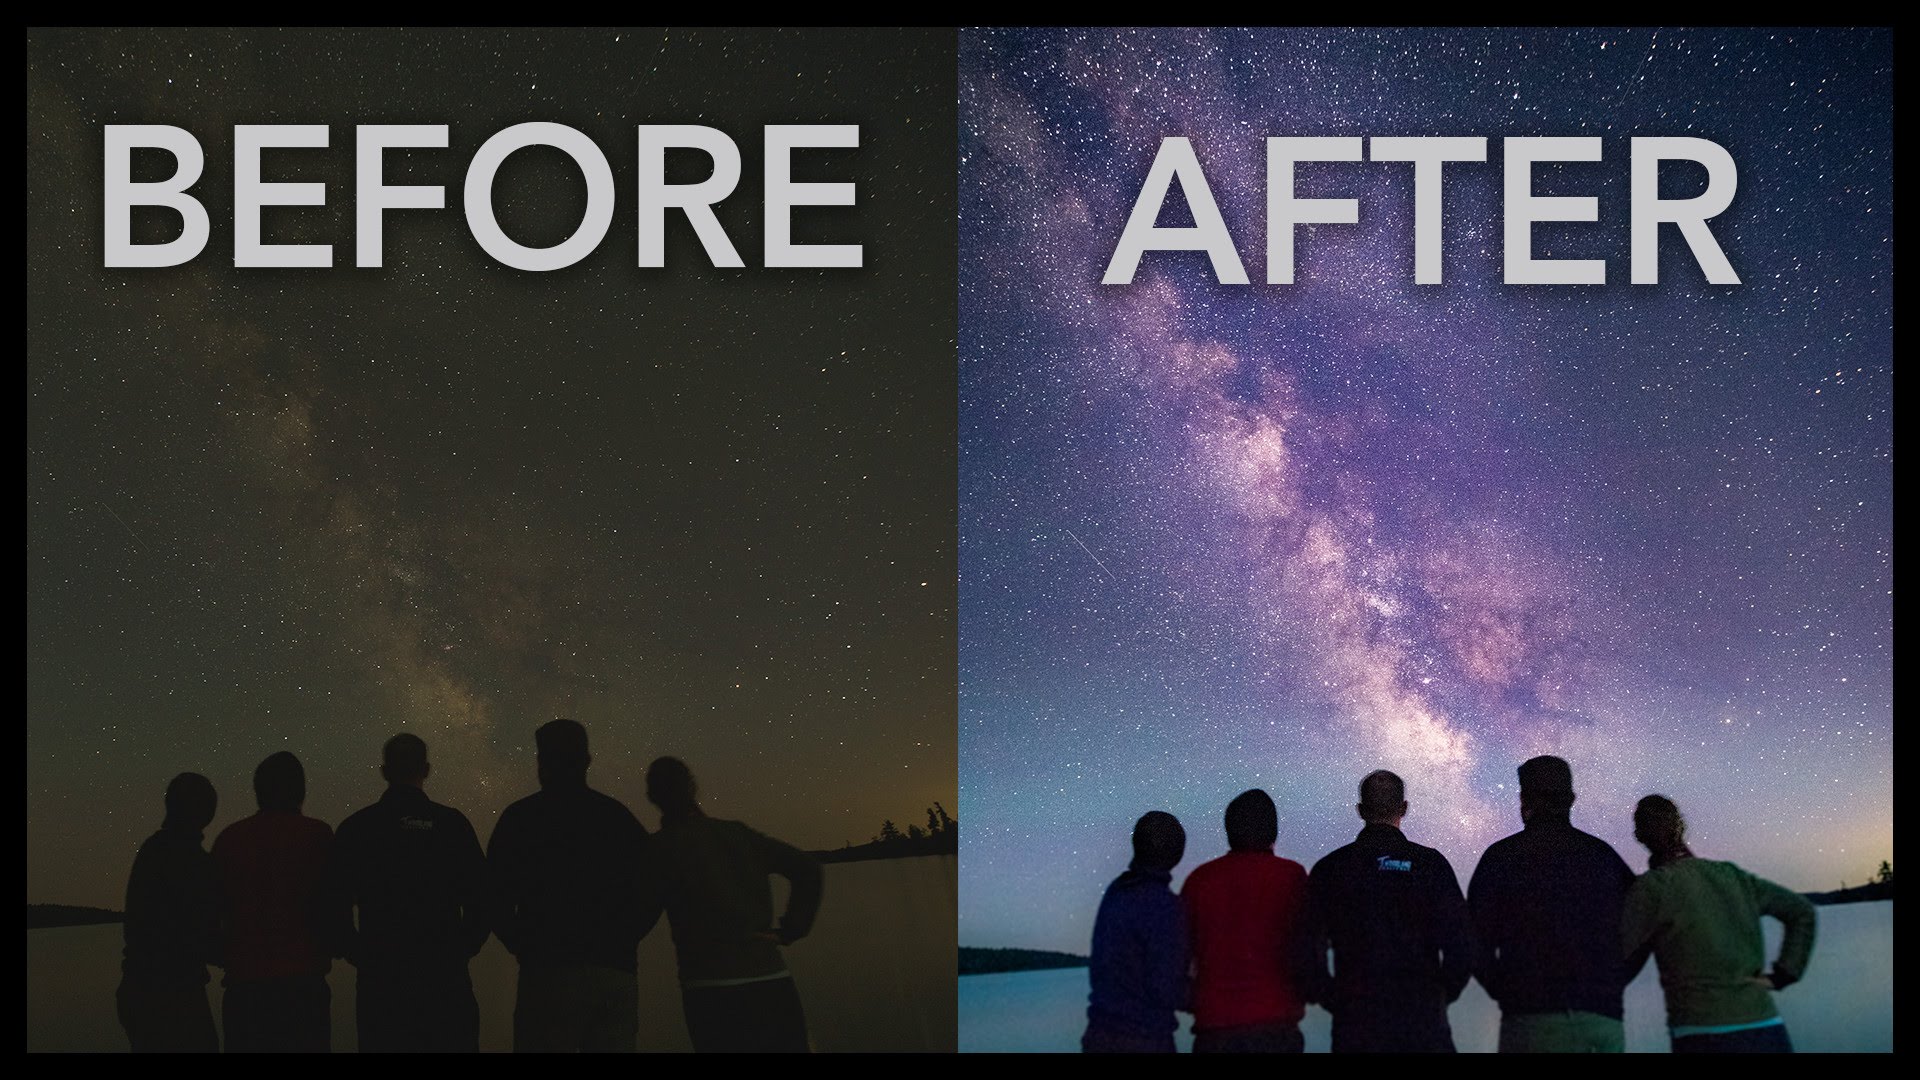
Capturing stunning shots of the Milky Way galaxy can be an awe-inspiring experience for photographers. In this tutorial video, we will walk you through the process of transforming a simple RAW photo of the Milky Way into a vibrant and captivating image that will leave viewers in awe.
When photographing the Milky Way, there are a few essential factors to consider. First and foremost, you want to ensure that the Milky Way is adequately exposed without compromising the sharpness of the stars. To determine the optimal shutter speed, many photographers employ the “500 rule.” Simply divide 500 by the focal length of your lens. For instance, if you are using a 50mm lens, the maximum exposure time would be 10 seconds (500/50). However, with a wider lens like a 25mm, you can extend the exposure time to 20 seconds. In the case of this tutorial, Rob used a 16mm lens with a shutter speed of 15 seconds. While he could have potentially exposed the shot for longer, it was important to consider the presence of people in the frame to avoid motion blur. Nevertheless, there is ample room for post-processing enhancements in this photo.
Watch the tutorial video below to learn the step-by-step process of transforming your Milky Way photos:
Post-processing Techniques: In this video, you will witness various photo manipulation techniques that can elevate your Milky Way images. It is important to note that these enhancements are subjective and based on personal preferences. The artist in this tutorial tends to favor a surreal aesthetic, often incorporating vibrant colors that may appear unnatural compared to the original environment. However, while embracing creativity, there are a few key considerations to keep in mind:
- Maintain a balance with grain: Avoid excessive use of grain in your post-processing, as it can adversely affect the overall image quality.
- Make the Milky Way the focal point: Ensure that the viewer’s attention is naturally drawn towards the Milky Way. Enhance its prominence and clarity to create a visually captivating effect.
- Mind your distribution: If you intend to showcase your photos on a large scale, it is crucial to minimize any noise or imperfections. Pay careful attention to detail, and strive for a clean and professional final result.
Conclusion: The purpose of this tutorial is not to encourage exact replication of the techniques showcased, but rather to inspire beginners to explore the potential of their Milky Way photography. With the step-by-step guidance provided, you’ll discover just how easily you can make the Milky Way “pop” in your photos. If you’ve never attempted to photograph the Milky Way, let this tutorial be the motivating push you need to embark on an exciting journey of capturing breathtaking images of our galaxy.
Remember, each photographer brings their own unique perspective and style to their work. Feel free to experiment and develop your own creative approach while incorporating the best practices discussed in this tutorial. Happy shooting, and may your Milky Way photos leave a lasting impression on viewers!